Starting The System #
- Power up control 120vac circuit for the control cabinet
- Power up the 3ph circuit for the VFDs
- The control cabinet contains customer specific information entered into the HMI on the front of the cabinet door
- Press the menu button (bottom right button, see picture below)
-
- Press conveyor setup button (top button, see picture below)
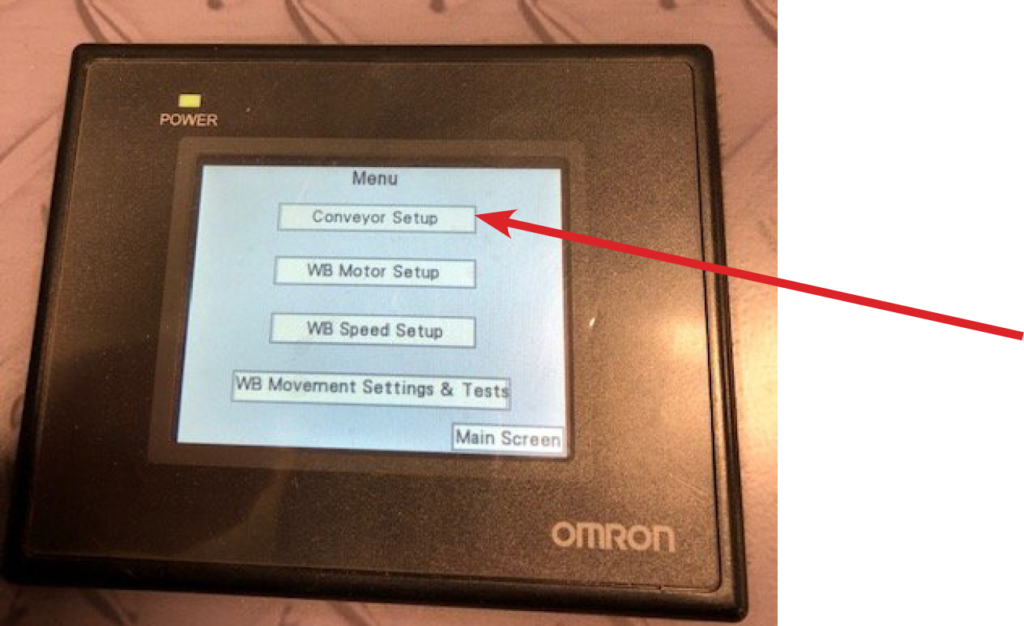
- Enter in the information for your specific conveyor setup
- You should be able to obtain this information from your tunnel controller
- This information needs to be correct to ensure proper performance of the wheelblastIT

- Once all of information is correctly entered you may now start the process of getting the wheelblastIT trolleys moving correctly
- Using your hand, push both trolleys to the middle of their travel path
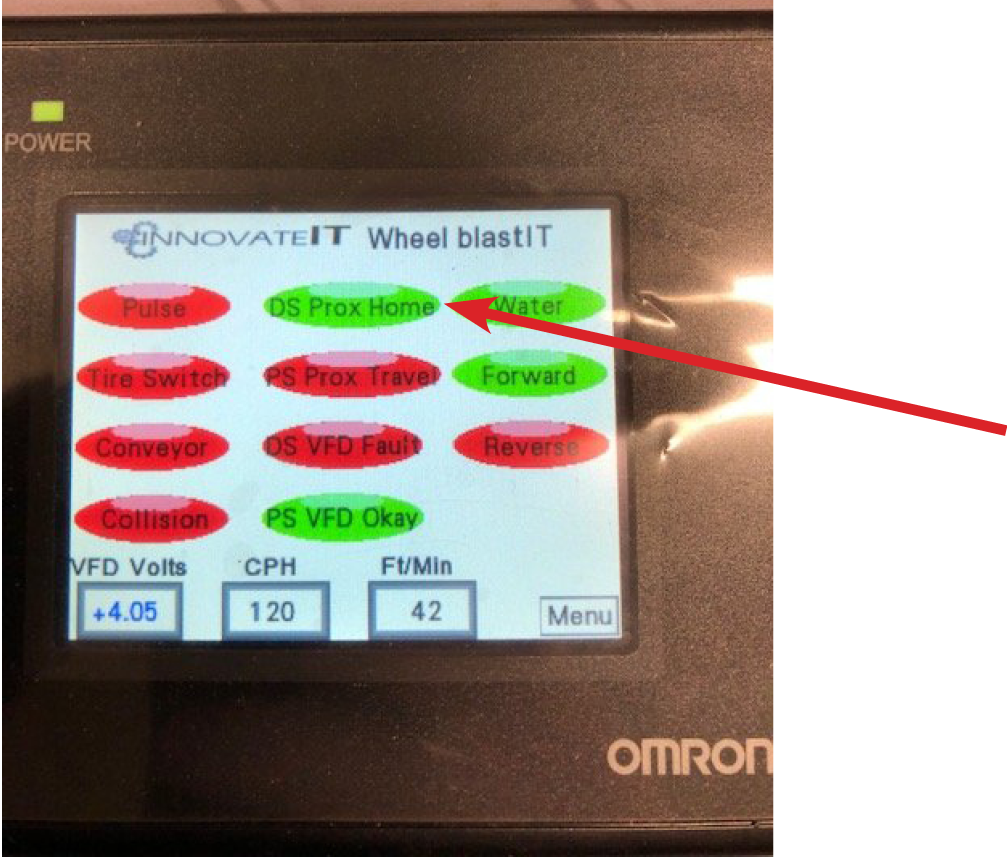
- With one person watching the main screen and one person at the wheelblasIT, place a metal object in front of the driver’s side proximity switch
- The main screen middle bit lamp should display “DS Prox Home” (see picture below)
- Repeat for the passenger’s side
- Do not proceed until this is correct
- Check rotation of the motors to make sure they are wired correctly.
- Turn on 3ph power
- Turn on rotary disconnect on outside of cabinet
- Turn on disconnects inside the control panel for each motor
- Check VFDs to make sure they lit up
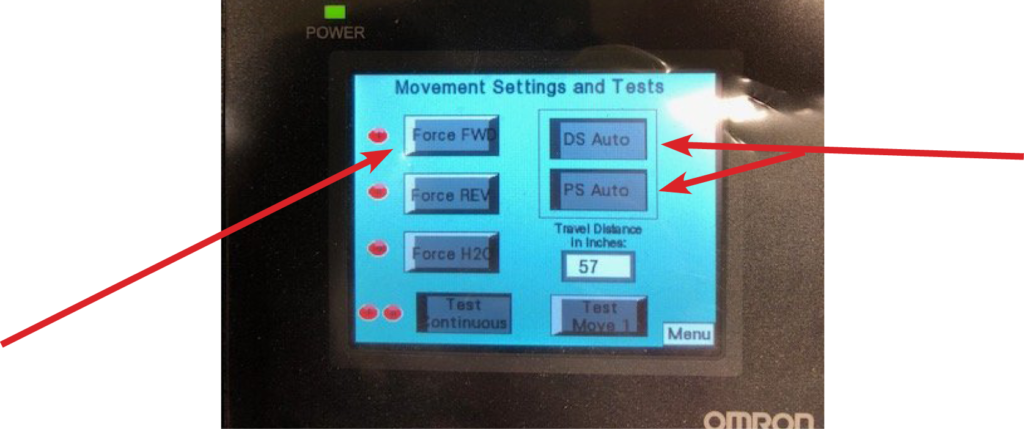
- Go to the WB Movement Settings & Test screen (see picture below)
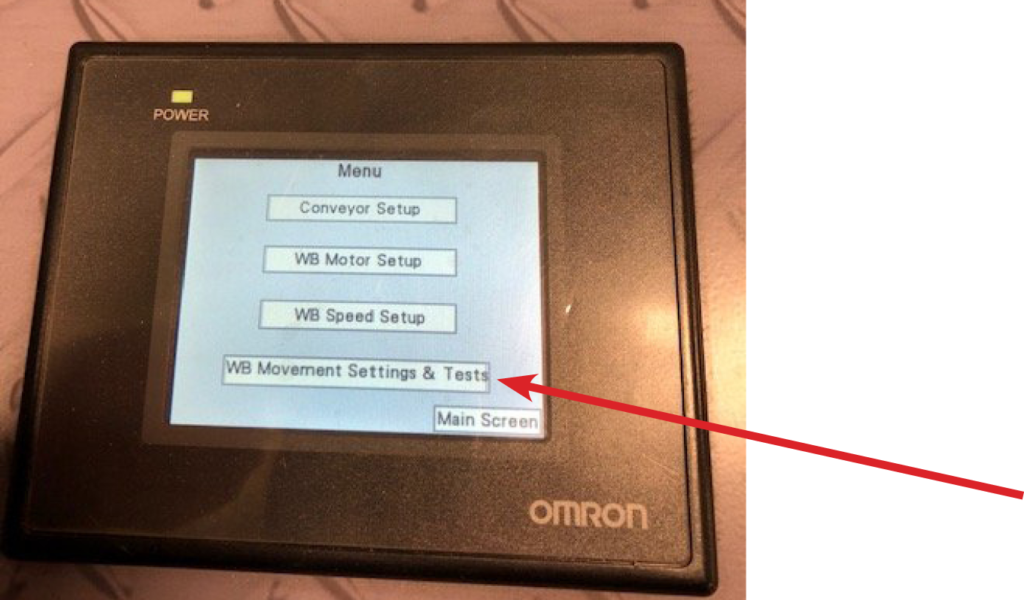
- Ensure both trolleys are in the middle of their travel path
- Press “DS Auto” and “PS Auto” buttons (see picture below)
- Press the “Force FWD” button momentarily
- Both trolleys should move towards the exit of the car wash
- If incorrect, have a qualified electrician switch 2 of the wires going to the motor at the terminal strip to reverse rotation
- Turn off 3ph power and wait until VFD display goes out